Costume Design Ideas

Mario and luigi diy costumes – Crafting DIY Mario and Luigi costumes offers a blend of creative expression and cost-effective entertainment. This section details design variations for adults and children, material sourcing, and construction techniques for key elements. Emphasis is placed on achieving recognizable character features while prioritizing comfort and ease of creation.
Adult Costume Variations
Three distinct adult costume designs are presented, each incorporating readily available materials and straightforward construction methods. The designs cater to varying skill levels and aesthetic preferences.
- Classic Mario: This design utilizes a red long-sleeved shirt and blue overalls. The overalls can be modified from existing denim or crafted from durable fabric. Felt is ideal for creating the iconic ‘M’ emblem. Materials: Red long-sleeved shirt, blue denim overalls (or durable blue fabric), yellow felt, white felt, black felt, buttons.
- Modern Mario: This option employs a more contemporary approach. A red polo shirt paired with dark blue jeans and a custom-made felt vest creates a streamlined look. The iconic ‘M’ can be embroidered or appliquéd onto the vest. Materials: Red polo shirt, dark blue jeans, dark blue felt, yellow felt, white felt, black felt, thread/embroidery floss.
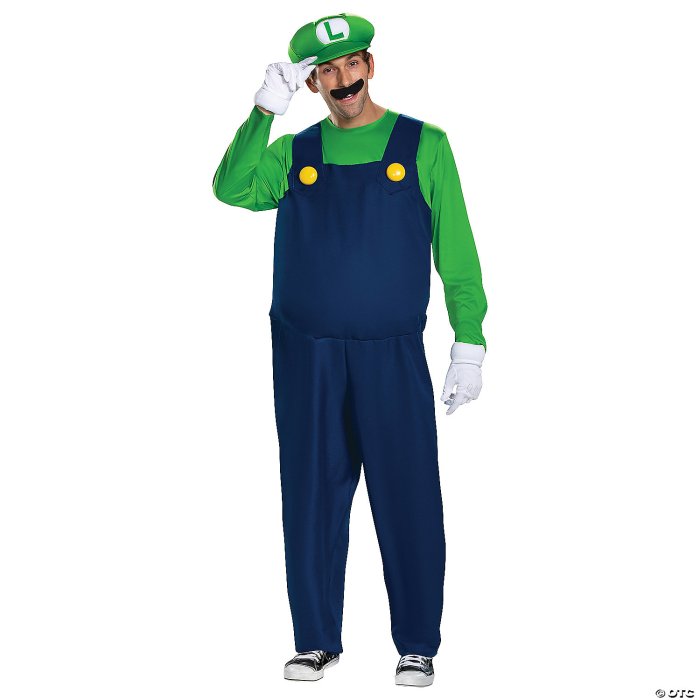
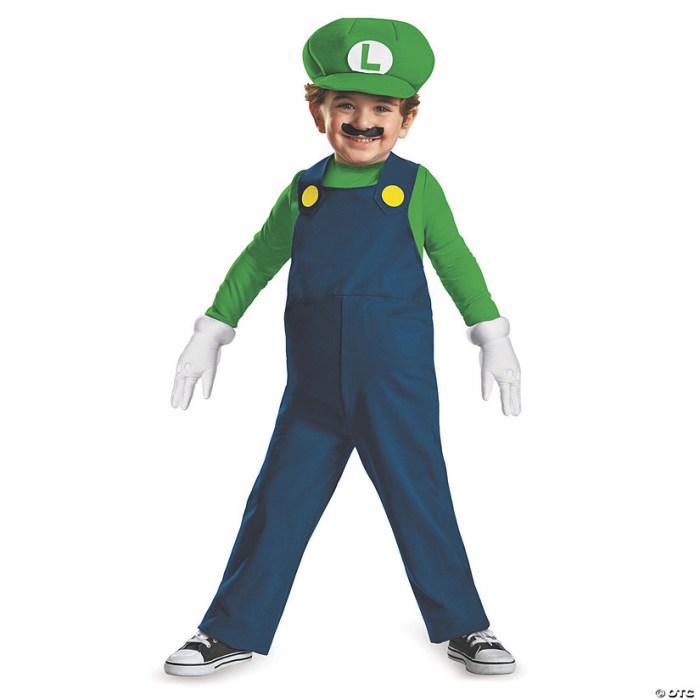
- Luigi Variation: This costume mirrors the classic Mario design but utilizes a green long-sleeved shirt instead of red and features a slightly altered ‘L’ emblem. The mustache can be larger and more pronounced. Materials: Green long-sleeved shirt, blue denim overalls (or durable blue fabric), green felt, white felt, black felt, buttons.
Child-Sized Mario Costume
A child-sized Mario costume prioritizes comfort and ease of construction. A simple red long-sleeved shirt and blue pants or overalls form the base. The ‘M’ emblem can be iron-on or sewn onto the shirt. A simple felt cap completes the look. Comfort is maximized by using soft, breathable fabrics and ensuring a loose fit to allow for movement.
The construction should involve minimal complex sewing, relying instead on simple stitching or adhesive techniques. A stretchy fabric for the shirt and pants ensures a comfortable fit for active play.
Creating a Unique Accessory: The Mario Cap
The iconic Mario cap is a crucial costume element. Three methods exist for creating a realistic-looking cap:
- Felt Construction: This method uses felt, a readily available and easily manipulated material. A pattern is created, and the felt pieces are cut and sewn together, resulting in a sturdy and durable cap.
- Foam-Based Cap: This approach uses craft foam sheets to create a structured cap. The foam is cut, shaped, and assembled using adhesive, offering a lightweight and relatively inexpensive option.
- Upcycled Fabric: This sustainable approach repurposes existing materials. A pre-existing hat can be altered with felt, paint, and other embellishments to achieve the iconic Mario cap design.
Each method offers a unique balance of cost, durability, and complexity. The felt method offers excellent durability, while the foam method prioritizes affordability. The upcycled method offers a sustainable approach.
Material Selection and Sourcing: Mario And Luigi Diy Costumes

Crafting authentic-looking Mario and Luigi costumes requires careful consideration of materials to balance cost-effectiveness with durability and visual accuracy. The choices made will significantly impact the final product’s appearance and longevity, particularly given the potential for wear and tear during use.
Alternative Materials for Mario and Luigi Costumes
Five alternative materials offer viable options for creating Mario and Luigi costumes, each presenting a unique balance of cost and durability. Felt, a readily available and inexpensive option, provides a good base for many costume elements. However, it can be prone to fraying and may not hold its shape as well as other materials. Polyester broadcloth, a more durable and less prone to fraying option, is moderately priced and offers a smoother finish ideal for larger costume pieces.
Cotton canvas, a heavier and more durable choice, is better suited for structural elements, but it comes at a higher cost. Finally, fleece, a soft and comfortable material, is perfect for lining or creating hats and gloves, but it is less suitable for detailed work. For a truly authentic look, consider using velvet; its luxurious texture can beautifully render the characters’ iconic overalls, but this is the most expensive option.
Repurposing Existing Clothing Items
Repurposing existing clothing items offers a significant cost-saving measure and reduces textile waste. For example, old denim jeans can be repurposed into overalls, requiring only alterations and additional embellishments. Similarly, existing shirts can be refashioned into the iconic long-sleeved undershirts, minimizing the need for new fabric purchases. Careful planning and a creative approach to tailoring can transform existing garments into key costume components, reducing both the financial and environmental footprint of the project.
For instance, a well-fitting red shirt could form the base of Mario’s outfit, requiring only the addition of the iconic overalls and accessories.
Fabric Dyeing Techniques for Achieving Accurate Colors
Achieving the accurate colors of Mario and Luigi’s outfits requires a precise approach to fabric dyeing. For a vibrant red, a high-quality all-purpose dye should be used, following the manufacturer’s instructions carefully. Pre-washing the fabric before dyeing is crucial to ensure even color distribution and prevent discoloration. Similarly, the iconic blue of Luigi’s overalls requires a specific blue dye; achieving the correct shade may necessitate experimentation or using a color mixing chart.
The process involves immersing the fabric in the dye solution at the correct temperature and for the recommended duration, ensuring consistent agitation for uniform color penetration. Properly dyed fabrics will maintain their color vibrancy even after multiple washes, preserving the authenticity of the costumes.
Resources for Purchasing Craft Supplies, Mario and luigi diy costumes
A range of online and offline resources provide access to the necessary craft supplies. Online retailers such as Amazon and Etsy offer a vast selection of fabrics, buttons, and other craft materials, often with competitive pricing and convenient home delivery. Local fabric stores provide the opportunity to examine materials firsthand, assess quality, and seek advice from experienced staff.
Craft stores like Michaels and Hobby Lobby offer a wide range of tools and accessories, including needles, thread, and sewing machines. Online marketplaces specializing in costume-making supplies can also be valuable resources, offering specialized items that may be difficult to find elsewhere. Careful comparison shopping across these different resources is recommended to ensure cost-effectiveness and access to the best quality materials.
The vibrant world of DIY costumes offers endless possibilities, from the classic simplicity of Mario and Luigi ensembles to more complex creations. The ingenuity required extends beyond the plumber brothers; consider the challenge of crafting a truly convincing Mike Wazowski, as detailed in this excellent guide for a mike from monsters inc costume diy. Ultimately, both projects highlight the rewarding process of transforming imagination into wearable reality, showcasing the creativity inherent in crafting personalized costumes.
Construction Techniques

Crafting authentic-looking Mario and Luigi costumes requires precision and attention to detail. This section Artikels the construction process, focusing on key techniques to achieve a professional finish. Successful execution hinges on careful pattern use, precise sewing, and creative application of materials for realistic facial features.
Mario’s Overalls Construction
Constructing Mario’s overalls begins with a well-fitted pattern. Acquire or create a pattern for overalls, ensuring accurate measurements are taken to guarantee a proper fit. Transfer the pattern pieces onto the chosen fabric (denim or canvas work well), adding seam allowances as indicated on the pattern. Pin the pieces together, ensuring right sides face each other, and stitch along the seam lines using a straight stitch.
Reinforce stress points, such as the crotch seam and shoulder straps, with a double stitch or zigzag stitch. Next, attach the suspenders, ensuring they are evenly spaced and securely attached to the overalls’ back. Finally, hem the bottom edges and finish any raw edges with a serger or zigzag stitch to prevent fraying. The overall construction should follow standard garment construction techniques.
Sewing Techniques for Clean Seams
Several sewing techniques contribute to professional-looking seams. A straight stitch is fundamental for most seams, providing strength and a clean finish. For curved seams, a shorter stitch length is recommended for better control and a smoother curve. Overlocking or serging raw edges prevents fraying and adds a polished look. French seams are ideal for delicate fabrics or when a completely concealed seam is desired.
These seams enclose the raw edges, creating a neat and durable finish. A topstitching technique can add a decorative touch and further reinforce seams. Using a walking foot on a sewing machine can help prevent slippage and ensure even feeding of fabric layers, particularly useful when working with multiple layers of thick fabric.
Luigi’s Cap Construction
Luigi’s signature green cap requires a pattern for a simple, rounded cap. Cut the pattern pieces from felt or a similar fabric. The pattern should include crown pieces and a brim. Stitch the crown pieces together, creating a smooth seam. Attach the brim to the crown, using a neat seam.
The brim should be slightly wider than the crown. Reinforce the seam where the crown and brim meet with a double stitch for added durability. Consider adding a small, felt “L” to the cap’s front for added detail. The cap’s final shape should be firm and well-defined.
Creating Realistic Facial Features
Realistic facial features can be crafted from felt, foam, or even sculpted polymer clay. For a felt mustache, cut several thin strips of brown felt, shaping them to mimic individual hairs. Arrange them to create a full mustache and glue them onto the costume’s face area. Eyebrows can be created similarly, using slightly thicker felt strips shaped to match the desired eyebrow style.
These elements should be securely attached to the costume’s face area using fabric glue or a strong adhesive designed for fabric. The final result should blend seamlessly with the costume’s overall design. Consider using shading techniques with different felt shades to add depth and realism.
Question & Answer Hub
How long does it take to make a Mario and Luigi costume?
The time varies depending on your skill level and the complexity of the design. A simple costume could take a weekend, while a more elaborate one might require several weeks.
Can I use felt for the entire costume?
While felt is great for certain elements like mustaches and details, it’s not ideal for the entire costume due to its limited durability and potential for stretching. Consider using felt for accents and other materials like cotton or denim for the main body.
Where can I find patterns for Mario and Luigi costumes?
You can find free patterns online through various crafting blogs and websites, or purchase pre-made patterns from craft stores or online retailers.
What kind of glue is best for attaching costume details?
Hot glue is generally effective for quickly attaching details, but fabric glue provides a more durable and less visible bond for delicate fabrics.


