Quick & Easy Costume Ideas
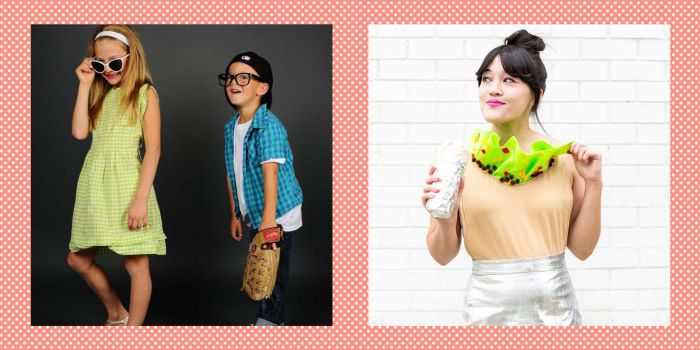
Diy last minute costume – Let’s face it, sometimes the best costumes are the ones born from a moment of inspiration and a rummage through your closet. Forget the elaborate, time-consuming creations; with a little creativity, you can whip up a fantastic costume using everyday household items. These ideas are perfect for those last-minute Halloween scrambles or impromptu themed parties. The key is to think outside the box and embrace the simplicity.
Five Quick Costume Ideas Using Household Items, Diy last minute costume
Transforming ordinary objects into extraordinary costumes is a thrilling challenge. These five ideas prove that you don’t need a costume shop to make a statement. Each one is designed for maximum impact with minimal effort.
- Ghost: The classic, effortless choice. All you need is an old sheet, some safety pins, and perhaps some eyeholes cut out for visibility. Drape the sheet over yourself, secure it with pins, and you’re ready to haunt the night.
- Robot: Gather cardboard boxes (cereal boxes, shoeboxes, even Amazon boxes work!), duct tape, aluminum foil, and markers. Construct a boxy frame around your torso and head, adding details with foil and markers to create a futuristic look.
- Mummy: Grab some toilet paper or white fabric strips. Wrap yourself from head to toe, leaving some gaps for visibility and movement. Secure the ends with tape or safety pins. The more haphazard the wrapping, the more authentic the mummy look.
- Scarecrow: Wear a flannel shirt, jeans, and a straw hat. Stuff some straw or crumpled newspaper into the shirt and pants to create a bulky, stuffed appearance. Use makeup to add some stitches to your face for an extra touch of spookiness.
- Rosie the Riveter: Find a denim shirt, jeans, and a red bandana. Roll up your sleeves, tie the bandana around your head, and strike a powerful pose. This iconic costume requires minimal effort but packs a significant punch.
Costume Effort, Time, and Materials Comparison
This table summarizes the effort, time, and materials needed for each costume idea. It helps you choose the best option based on your available resources and time constraints.
| Costume | Effort Level | Time Required (minutes) | Materials Needed |
|---|---|---|---|
| Ghost | Low | 5-10 | Common |
| Robot | Medium | 20-30 | Common |
| Mummy | Low | 10-15 | Common |
| Scarecrow | Low | 10-15 | Common |
| Rosie the Riveter | Low | 5 | Common |
Adapting Existing Clothing Items into Costumes
Many costumes can be created by repurposing existing clothing. A little creativity can transform ordinary clothes into something extraordinary.
- Pirate: An old shirt can become a pirate shirt with a few strategically placed rips and stains. Add a bandana and eye patch for a complete look. You can even use some black fabric scraps to create a simple eye patch.
- Superhero: A plain t-shirt can become a superhero costume with the addition of a symbol drawn or glued on the chest. Add some colorful fabric scraps or felt for extra details. A simple cape can be created from an old piece of fabric.
- Flapper: A long skirt, paired with a loose-fitting top, can easily be transformed into a flapper costume. Add some feather boas or sparkly accessories for an extra touch of glamour. A headband with feathers completes the look.
Costume Inspiration & Themes

Unleash your inner artist and transform everyday items into extraordinary costumes! With a little creativity and resourcefulness, even the most last-minute Halloween plans can become a triumph of imagination. Let’s explore some inspiring costume ideas that are both easy to execute and guaranteed to turn heads.
Popular Movie/Book Character Costumes
Creating a captivating costume doesn’t require a hefty budget or hours of meticulous crafting. Many iconic characters can be brought to life with readily available materials. Consider these simple yet effective options:
- Rosie the Riveter: A denim shirt or jacket, rolled-up sleeves, a red bandana tied around your head, and a determined expression are all you need to embody this symbol of female strength and resilience. Add a pair of worn jeans or overalls for a truly authentic look.
- A Scarecrow: This classic character is incredibly easy to assemble. Find some old clothes – preferably plaid or burlap-like fabrics – and stuff them with straw, hay, or even crumpled newspaper for a bulky appearance. Draw simple stitches on your face with eyeliner or makeup, and don a straw hat to complete the rustic charm.
- A Ghost: The quintessential Halloween costume requires minimal effort. A white sheet draped over your body, perhaps with some strategically placed holes for eyes and a mouth, instantly transforms you into a spooky apparition. Enhance the effect with some strategically placed cobwebs or ghostly makeup.
Cohesive Group Costume Themes
Amplify the fun by coordinating your costume with friends or family! Here are three themes easily achieved with minimal resources:
- Superheroes/Supervillains: Each member of your group can choose their favorite superhero or villain. The beauty of this theme is its flexibility; you can create costumes from everyday clothes and accessories, simply adding a cape, mask, or symbol to represent your chosen character. A simple t-shirt, some felt cutouts, and a bit of imagination are all it takes.
- Decades Theme: Choose a specific decade (e.g., the 1980s, 1950s, or 1970s) and have each person dress accordingly. This allows for creativity and individuality while maintaining a cohesive group aesthetic. Look through old family photos or search online for images of fashion from your chosen decade for inspiration.
- Classic Fairytales: Transform yourselves into iconic fairytale characters. This theme allows for diverse interpretations and easy costume creation using readily available materials. A simple red hood, a princess gown fashioned from an old dress, or a wolf mask made from felt could all work wonderfully.
1980s Inspired Costume
Picture this: Neon reigns supreme! A vibrant pink or turquoise leg warmer paired with high-waisted acid-washed jeans forms the foundation. A graphic t-shirt featuring bold geometric patterns or a favorite 80s band logo adds a punch of personality. Finish the look with oversized sunglasses, big hair teased to voluminous heights (think teased bangs and a high ponytail), and perhaps some bright, chunky jewelry.
Finding a DIY last-minute costume can be tricky, but sometimes the simplest ideas are the best. If you’re feeling inspired by a certain character, a quick search might reveal some surprisingly easy options. For instance, if you’re a fan of quirky characters, you might consider checking out this guide for a diy Louis Tully costume , which uses readily available items.
Ultimately, the key to a successful DIY last-minute costume is resourcefulness and a touch of creativity.
This look captures the essence of 1980s fashion with easily accessible items.
Tips & Tricks for a Successful DIY Costume: Diy Last Minute Costume
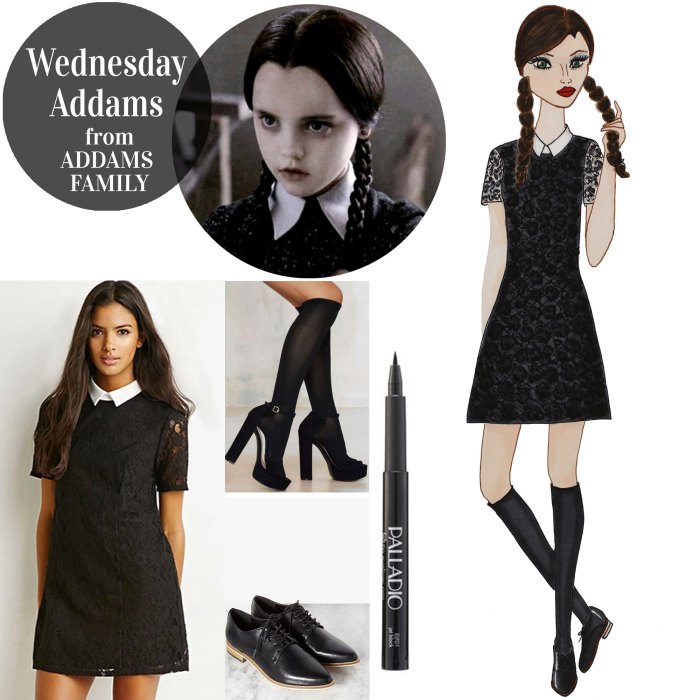
Crafting a last-minute costume shouldn’t mean sacrificing style or creativity. With a little ingenuity and these helpful tips, you can transform a simple concept into a truly impressive DIY masterpiece, even when time is of the essence. Remember, the most impactful costumes often come from clever repurposing and a dash of personal flair.
Elevating Your DIY Costume to Professional Standards
Transforming a homemade costume from “homemade” to “wow!” requires attention to detail. Even small refinements can make a significant difference. Consider these key areas for improvement:
- Seams and Finishes: Neat seams are crucial. Use a zig-zag stitch on your sewing machine or carefully hand-stitch edges to prevent fraying. Ironing seams flat creates a polished look.
- Fabric Choice: Opt for fabrics that drape well and don’t wrinkle easily. A well-chosen fabric can elevate a simple design. Consider using high-quality materials where possible, even if it’s just for key elements.
- Strategic Accessories: Well-chosen accessories can elevate even the simplest outfit. A carefully crafted crown for a queen, a well-placed prop for a character, or even strategically placed jewelry can add a level of sophistication and believability.
- Proper Fit: A costume that fits well is essential. If your base garment is ill-fitting, consider alterations such as taking in seams or adding darts for a more tailored appearance. This attention to detail is key to a professional finish.
- Paint and Detailing: If your costume involves painting or other detailing, use high-quality paints and take your time. Multiple thin coats are always better than one thick, uneven coat. Allow sufficient drying time between coats for the best results.
Troubleshooting Common DIY Costume Problems
Unexpected challenges are part of the DIY process. Being prepared for common issues can save time and frustration.
- Ill-fitting Clothes: If your base garment is too large, consider using safety pins or fabric glue to create a more tailored fit. For garments that are too small, adding fabric panels or strategically placed elastic can provide a better fit. A simple solution for a shirt that’s too short could be layering a longer shirt underneath.
- Broken Accessories: Broken accessories can be a major setback. If a button breaks, try sewing on a replacement. For more complex repairs, consider using hot glue or fabric glue for a quick fix. If an accessory is beyond repair, consider a creative substitute. A broken wand could be replaced with a similarly-shaped dowel rod, decorated appropriately.
- Uneven Paint Application: Uneven paint can ruin the look of a costume. If this happens, allow the paint to dry completely, then lightly sand the area to smooth it out. Re-apply a thin layer of paint for an even finish. A sponge brush can help achieve a more even application than a regular paintbrush.
DIY Costume Project Checklist
A well-structured checklist ensures you don’t overlook crucial elements.
- Concept and Inspiration: Define your costume concept clearly. Gather visual references (pictures, sketches) for inspiration.
- Materials Gathering: Create a detailed list of all necessary materials (fabric, accessories, paints, tools). Check your existing supplies before purchasing new items.
- Pattern and Design: Sketch out your design, including measurements and details. If sewing, choose or create a pattern.
- Construction Timeline: Establish a realistic timeline for each stage of the project, considering potential delays.
- Trial and Adjustment: Try on the costume as you build it to ensure a proper fit and make necessary adjustments along the way.
- Final Touches and Accessories: Add final details, accessories, and any special effects.
FAQ Section
What if I don’t have any face paint?
Use eyeshadow, lipstick, or even crayons (for kids’ costumes) as alternatives. Blend well for a smooth finish.
How can I make a costume more comfortable?
Use soft fabrics, layer clothing appropriately for warmth or coolness, and ensure any accessories aren’t too tight or restrictive.
What should I do if my costume falls apart?
Have safety pins, fabric glue, and double-sided tape on hand for quick fixes. Consider using stronger adhesives for more durable repairs.
What if I’m running out of time?
Choose a simpler costume idea and focus on key elements. Accessories can significantly elevate a basic outfit.
Where can I find more costume inspiration?
Browse online image galleries, Pinterest, and movie/TV show character websites for ideas.

